
Home Appliances Care Guide
Appliances are one of the distinctly modern layers in an older home. Kitchens and laundry spaces have evolved enormously since many vintage houses were built, and today's appliances bring capabilities—and complexities—the original rooms could never have anticipated. Caring for them properly helps extend their useful life while also protecting the cabinetry, counters, flooring, and other finishes around them.
Modern appliances often combine stainless steel, painted metal, glass, enamel, plastic, electronic controls, seals, filters, and other components within a single unit. A cleaning method that's appropriate for one surface may damage another, so it is important to pay attention to what you're cleaning rather than treating the entire appliance the same way.
For everyday care, use mild soap and water and a soft cloth when appropriate. Avoid spraying cleaners directly into controls, vents, openings, or seams, and don't assume that a removable component is dishwasher-safe. Wipe up spills, grease, and moisture before they have a chance to affect either the appliance or the surrounding surfaces.
For filters, cleaning cycles, descaling, venting, and other maintenance beyond routine cleaning, follow the use-and-care instructions for your particular appliance. Keeping the model information and owner's manual accessible can make ongoing maintenance—and eventually finding the right replacement parts—considerably easier.
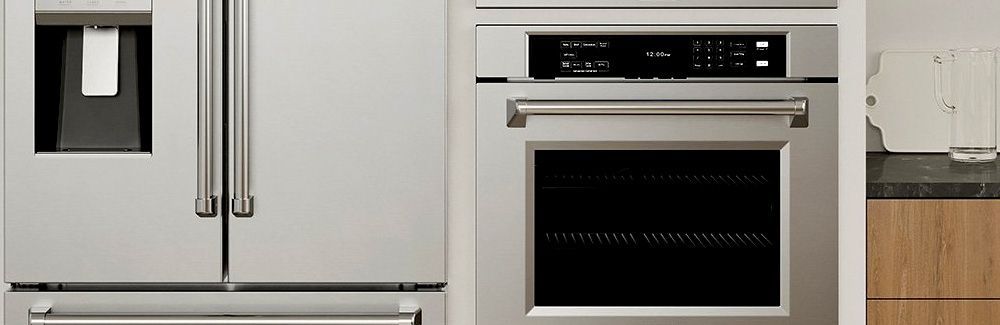
Stainless Steel Appliance Exteriors
Stainless steel is durable, but appliance finishes vary. Some stainless steel is uncoated, while other appliances have fingerprint-resistant or specialty coatings that require different care.
Everyday Care:
For ordinary fingerprints and grime, clean with mild soap and water using a soft microfiber or lint-free cloth. If the stainless steel has a visible grain, wipe in the direction of the grain. Dry with a soft cloth to reduce streaking and water spots.
Stainless Steel Cleaners & Polish:
A stainless-steel cleaner or polish can be appropriate for some uncoated stainless finishes. Follow the appliance manufacturer's recommendations before applying one.
Don't assume that a product intended for ordinary stainless is appropriate for black stainless, fingerprint-resistant stainless, or another coated finish. Bosch, for example, recommends its stainless conditioner for conventional stainless but specifically says not to apply it to black stainless.
Avoid:
Refrain from using steel wool and abrasive pads that can permanently scratch the finish.
Be cautious with bleach, ammonia, acids, and other strong chemicals unless your appliance manufacturer specifically approves them. Manufacturer recommendations differ: Sub-Zero/Wolf allows ammonia and vinegar for certain stainless-cleaning applications but advises against bleach, while GE advises against bleach, ammonia, acids, and abrasives on its stainless appliances.
Because stainless-steel finishes and manufacturer recommendations vary, avoid relying on a universal homemade cleaner recipe.
Refrigerators & Freezers
Interior Cleaning:
Remove food and wipe shelves, drawers, and interior surfaces with a soft cloth and mild soapy water. Rinse or wipe away soap residue and dry before returning food.
Avoid:
Do not allow water or cleaner to enter lights, vents, controls, drain openings, or other mechanical components.
Wash removable bins and shelves according to the manufacturer's instructions. Do not automatically put them in the dishwasher.
Bosch and Sub-Zero both specifically caution that some refrigerator components should be hand washed.
Door Gaskets:
Keep door gaskets clean so they can make good contact with the cabinet.
Wipe them gently with a damp cloth and inspect periodically for tears, deformation, or areas that are no longer sealing properly.
Water & Ice Systems:
If your refrigerator has a water filter, replace it according to the manufacturer's instructions or the appliance's filter indicator.
Clean water and ice dispensers as recommended by the manufacturer. If the ice develops an unusual odor or taste, clean the ice bin and related removable components before assuming there is a mechanical problem.
Condenser & Ventilation:
Some refrigerators require periodic condenser cleaning; others are designed differently and may not require homeowner access to the condenser at all.
Follow the appliance's maintenance instructions rather than automatically vacuuming or removing panels. Never block required ventilation openings.
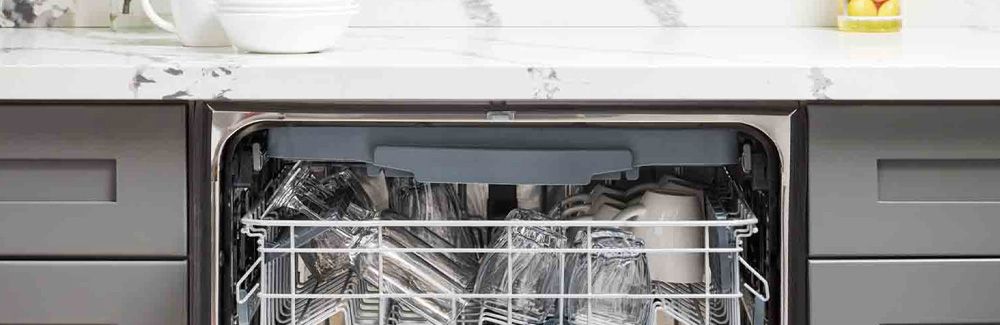
Dishwashers
A dishwasher cleans dishes, but it also needs periodic care itself.
Routine Care:
Wipe spills and residue from the door edges, gasket, and surrounding surfaces.
Inspect the bottom of the dishwasher periodically for food debris, labels, glass, or other material that may have accumulated.
Filters:
Many modern dishwashers have filters that require periodic removal and cleaning, while others use different filtration or disposal systems.
If your dishwasher has a homeowner-serviceable filter, clean it at the interval and by the method specified in the owner's manual.
Don't use a sharp object or abrasive brush on a filter unless instructed to do so.
Spray Arms:
If cleaning performance declines, inspect accessible spray-arm openings for debris according to the manufacturer's instructions.
Do not enlarge spray holes or disassemble components unless the manual directs you to.
Detergent & Rinse Aid:
Use dishwasher detergent rather than ordinary hand dishwashing liquid
Follow the appliance manufacturer's recommendations for detergent type, quantity, rinse aid, and water-hardness settings. More detergent is not necessarily better and can contribute to residue or poor performance.
Mineral Buildup:
Hard water can cause scale and mineral deposits inside a dishwasher.
Use a dishwasher descaler or cleaning procedure approved by the manufacturer rather than improvising with vinegar, bleach, or other household chemicals. Different dishwasher components and materials can react differently to these products.
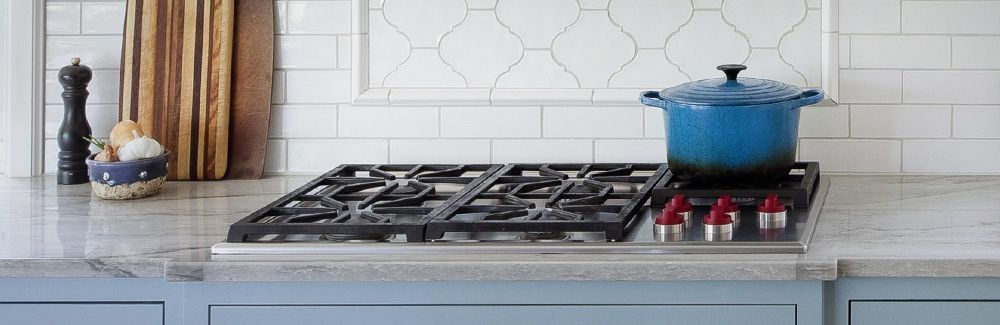
Gas Cooktops & Ranges
Gas cooking appliances typically combine stainless steel or enamel surfaces with cast-iron grates, burner caps, igniters, and control components.
After Cooking:
Allow the cooktop to cool before cleaning.
Remove spills before they become repeatedly baked onto the surface. Use mild soap and water or a cleaner approved for the particular cooktop surface.
Burner Grates & Caps:
Remove grates and burner caps only when cool.
Clean according to the appliance instructions. Don't automatically place cast-iron grates, burner caps, or control knobs in the dishwasher. Wolf, for example, directs owners to clean its grates and rack guides with hot water and mild detergent and towel dry them rather than immersing them.
Make sure burner components are dry and properly seated before operating the appliance.
Igniters & Burner Openings:
Keep food and cleaning residue away from igniters and burner openings.
Don't poke burner openings with objects that could enlarge or damage them. If a burner doesn't ignite or burns unevenly after cleaning, confirm that its components are clean, dry, and correctly positioned before requesting service.
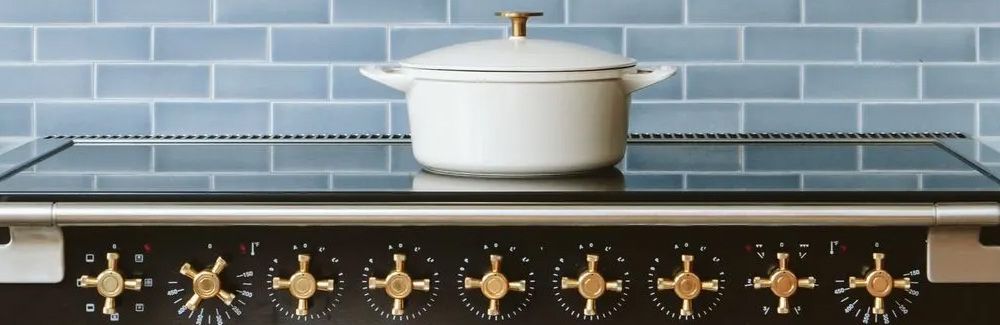
Glass-Ceramic & Induction Cooktops
Induction cooktops and many electric cooktops have a smooth glass-ceramic cooking surface.
Everyday Care:
Allow the surface to cool before routine cleaning.
Wipe away loose debris and clean with a product approved for glass-ceramic cooktops and a soft cloth or appropriate nonabrasive pad. Current Wolf guidance recommends a nonabrasive ceramic-cooktop cleaner for food soil.
Spills:
Clean spills promptly once it is safe to do so. Sugary substances, melted plastic, foil, and other materials can potentially bond to or damage a hot glass surface.
Some manufacturers provide or approve a special razor scraper for removing certain cooked-on material. Use one only when the appliance manufacturer recommends it, and follow its instructions for angle and technique. Wolf, for example, supplies a scraper for specific glass-ceramic cleaning situations.
Preventing Scratches:
Lift cookware rather than sliding it across the cooktop.
Keep both cookware bottoms and the cooking surface clean. Grit trapped between them can scratch the glass.
Do not use the cooktop as a cutting board or general work surface.

Range Hoods & Ventilation
A range hood does an important job beyond removing cooking odors: it captures grease, moisture, smoke, and combustion byproducts generated during cooking.
Exterior Care:
Clean the exterior according to its material and finish. For stainless steel, follow the appliance's stainless-care recommendations.
Clean accumulated grease before it becomes a heavy film.
Grease Filters:
Wash reusable grease filters at the interval recommended by the manufacturer. Some metal filters are dishwasher-safe; others require hand washing.
Make sure filters are completely dry before reinstalling them.
Charcoal Filters:
Recirculating hoods may contain charcoal or other odor filters that are replaced rather than washed.
Follow the manufacturer's replacement schedule.
When Performance Changes:
A hood that becomes noticeably louder, develops vibration, or stops moving air effectively may have dirty filters or another maintenance issue.
Don't operate a range hood without its required filters installed.

Microwave Ovens
Interior Care:
Wipe spills promptly with a soft damp cloth.
For heavier food residue, use mild soap if permitted by the manufacturer and wipe away all cleaner residue.
Avoid:
Do not use abrasive cleaners and scouring pads that can damage interior finishes. Wolf's current guidance for some microwave interiors, for example, calls for water and mild detergent and prohibits chemical oven cleaner.
Door & Seals:
Keep the door, frame, and contact surfaces clean.
Do not operate a microwave if the door, hinges, latch, or sealing surfaces are damaged.
Never remove interior panels or the waveguide cover as part of routine cleaning unless the manufacturer specifically instructs you to do so.
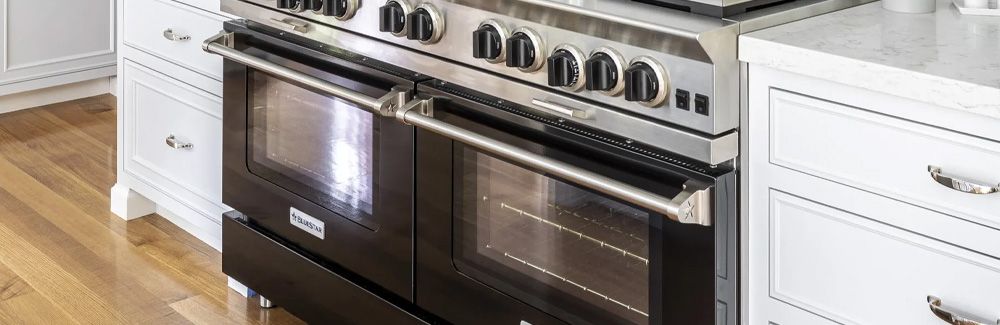
Wall & Range Ovens
Oven interiors vary considerably. They may have porcelain enamel, catalytic liners, steam-cleaning systems, self-cleaning cycles, or other proprietary surfaces.
Routine Cleaning:
Wipe spills after the oven has cooled rather than repeatedly baking them onto the interior.
Clean the door glass and accessible surfaces using the method recommended for your particular oven.
Self-Cleaning Ovens:
Use the self-cleaning cycle only according to the manufacturer's instructions.
Check whether racks, probes, thermometers, broiler pans, and other accessories must be removed first. Different manufacturers and models have different requirements.
Do not assume that a commercial oven cleaner is safe for a self-cleaning oven. Even within one manufacturer's product line, instructions can be surface-specific. Wolf, for example, identifies particular cleaners for particular oven interiors rather than treating all oven cavities alike.
Controls:
Do not spray cleaner directly onto electronic controls.
Apply an approved cleaner to the cloth first and then wipe the control panel. Wolf specifically calls this out in its current care guidance.
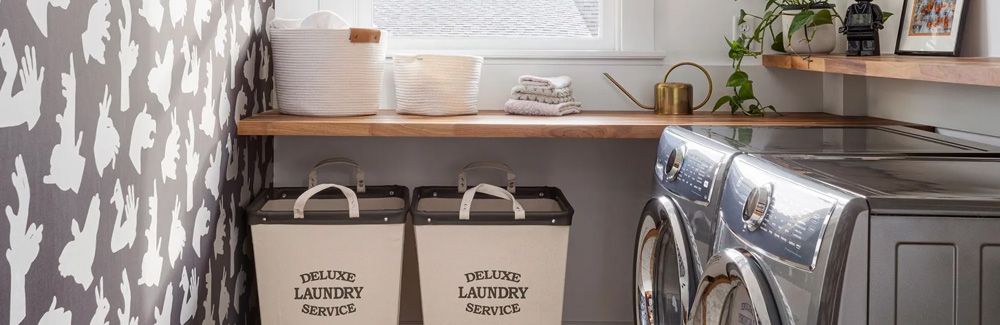
Washer & Dryer Care
Washing Machine Care
Routine Care:
Remove items promptly after the cycle is complete.
Wipe spills from controls and exterior surfaces with a soft damp cloth.
For front-loading machines, keep the door gasket clean and remove debris or standing moisture according to the manufacturer's instructions.
Cleaning Cycles:
If the washer has a dedicated cleaning cycle, run it at the interval and with the cleaning product specified by the manufacturer.
Do not mix bleach, ammonia, vinegar, or other cleaning chemicals.
Detergent:
Use the correct detergent for the machine, including HE detergent where required, and follow the manufacturer's quantity recommendations.
Excess detergent can contribute to residue and odors rather than improving cleaning.
Hoses & Connections:
Periodically inspect accessible water-supply hoses and connections for bulging, cracking, corrosion, or leakage.
Water beneath or behind a washing machine warrants prompt investigation rather than simply drying the visible floor.
Dryer Care
Lint Filter:
Clean the lint filter at the frequency recommended by the manufacturer—typically after each load.
A clogged lint filter reduces airflow and can affect drying performance.
Dryer Vent:
The exhaust duct and exterior vent also require periodic inspection and cleaning.
If clothing begins taking noticeably longer to dry, the dryer or laundry room becomes unusually hot, or airflow at the exterior vent decreases, lint accumulation or another airflow problem may be present.
Because a restricted dryer exhaust can become a fire hazard, persistent airflow problems warrant professional evaluation.
Exterior & Drum:
Clean exterior surfaces with mild soap and water or according to the manufacturer's instructions.
If material transfers to the dryer drum, follow the manufacturer's cleaning procedure rather than using solvents or abrasive cleaners without guidance.

Appliance Maintenance vs. Appliance Repair
Some appliance care belongs comfortably within normal homeowner maintenance: cleaning a dishwasher filter, wiping refrigerator gaskets, cleaning a range-hood grease filter, or clearing a dryer lint screen.
Other conditions warrant service.
Water leaks, electrical odors, repeated circuit trips, damaged cords, gas odors, unusual overheating, persistent error codes, failed door seals, and unexplained changes in appliance performance should not be treated simply as cleaning problems.
Follow the appliance manufacturer's troubleshooting instructions and use a qualified service provider when appropriate.
Keep Your Appliance Information
Keep basic appliance information accessible. Model numbers, manuals, and warranty information can be especially useful years after installation when you need a filter, replacement part, cleaning instruction, or service information.
For each major appliance, retain the:
- Manufacturer and model number
- Use-and-care manual
- Warranty information
- Purchase or installation date
- Filter and replacement-part information
- Service history, when applicable
Many manufacturers now maintain current manuals and maintenance instructions online. The model number is often the fastest way to determine which instructions actually apply to the appliance in your home.