
Specialty Interior Surfaces Care Guide
Some of the most memorable details in an older home don't fit neatly into the usual categories of flooring, tile, cabinetry, or hardware. Wavy window glass, an old mirror, decorative plasterwork, embossed wallcoverings, or a pressed-metal ceiling may occupy relatively little space, yet contribute enormously to the character of a room. Because these materials can be unusual—and sometimes difficult to replace—they often benefit from a particularly thoughtful approach to care.
Some may be original to the house or survive from an earlier period in its history. Others, such as wallpaper, decorative glass, Anaglypta, Lincrusta, and ornamental plasterwork, continue to be used today to bring texture, pattern, craftsmanship, and individuality to new and remodeled interiors. As elsewhere in an older home, preservation and new design don't have to be opposing ideas.
Care requirements vary considerably across these materials. What is appropriate for a contemporary mirror may not be safe for historic glass, and a newly installed washable wallcovering can tolerate treatment that would permanently damage an older paper. Begin by understanding what you have, then use the gentlest cleaning or maintenance method appropriate to the material and its finish.
With older specialty surfaces,
imperfection can also be part of what makes them special. Ripples in historic glass, subtle silvering in an old mirror, variations in decorative plaster, or signs of age in an embossed wallcovering don't necessarily need to be corrected. When a material is sound and contributing to the character of the room, good care may simply mean helping it continue to age gracefully.
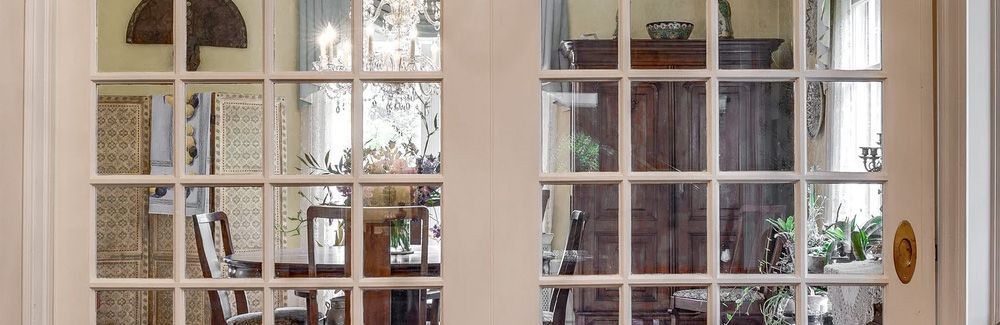
Glass
This guidance applies to ordinary interior architectural glass, including glass doors, tabletops, cabinet glass, and similar surfaces. Specialty coated, textured, etched, leaded, or historic glass may require different care.
Everyday Care:
Remove loose dust and grit before wet cleaning so particles aren't dragged across the surface.
Clean with a soft, lint-free cloth and a glass cleaner appropriate for the particular surface. For light cleaning, water and a small amount of mild soap may be sufficient.
Apply cleaner to the cloth rather than spraying heavily onto the glass, particularly when the glass is surrounded by finished wood, metal, stone, or other materials that may be sensitive to the cleaner.
Dry with a clean, lint-free cloth to reduce streaking.
Avoid:
Do not use abrasive powders, scouring pads, steel wool, and other products that may scratch the glass.
Don't use razor blades or other sharp scrapers unless you know they are appropriate for the particular glass. Coatings, films, decorative treatments, and some specialty glass can be permanently damaged by scraping.
Specialty & Coated Glass:
Some glass has factory-applied coatings, films, tints, etched surfaces, or other treatments.
Before using strong cleaners, solvents, abrasives, or scraping tools, follow the manufacturer's instructions when the type of glass is known.
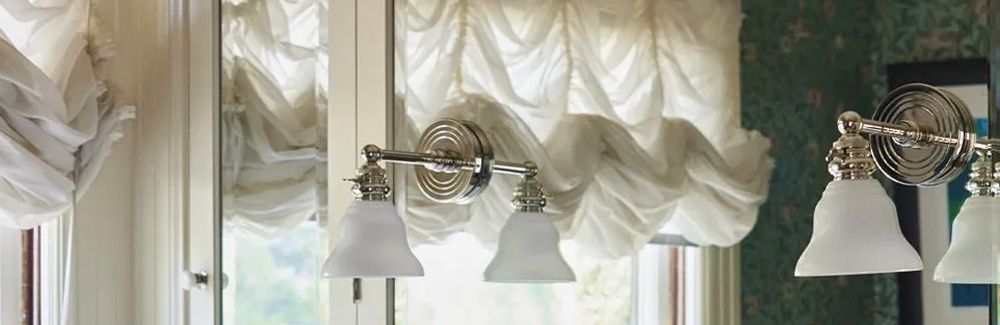
Mirrors
Mirrors require slightly different care from ordinary glass because the reflective coating on the back of the glass can be vulnerable to moisture and chemicals, particularly around the edges.
Everyday Care:
Remove dust with a soft, lint-free cloth.
For more thorough cleaning, apply glass cleaner to the cloth rather than directly to the mirror. Wipe the surface gently and dry it completely.
Apply glass cleaner to a cloth rather than spraying it directly onto a mirror. This helps keep liquid from collecting along the edges or reaching the reflective backing.
Protect the Edges:
Do not allow cleaner or water to collect along the bottom or edges of the mirror.
Repeated moisture exposure can potentially affect the reflective backing and create darkened or deteriorated areas around the perimeter.
This is especially important with framed mirrors, where liquid can become trapped between the glass and frame.
Avoid:
Do not use abrasive cleaners, scouring pads, and metal scrapers.
Don't use acidic, strongly alkaline, or solvent-based cleaners unless they are specifically identified as safe for mirrors.
If dark spots or deterioration appear behind the glass, cleaning the front surface will not correct the problem. The reflective backing may have deteriorated.
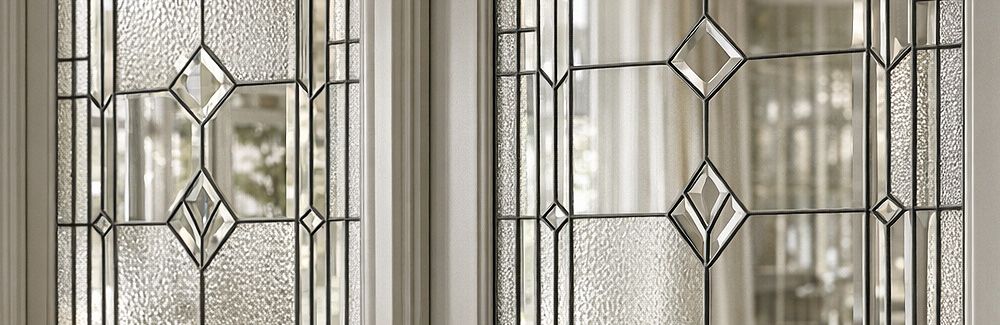
Historic & Decorative Glass
Original leaded, beveled, stained, etched, wavy, or decorative glass should be cleaned conservatively.
Routine Care:
Begin with gentle dusting using a soft cloth or brush.
Where wet cleaning is appropriate, use minimal moisture and Avoid: allowing liquid to collect around came, putty, wood sash, decorative paint, or other surrounding materials.
Leaded & Stained Glass:
Older leaded-glass assemblies can become fragile as came, solder joints, glazing compounds, and supporting frames age.
Do not aggressively scrub, polish, or push against individual pieces of glass.
Bulging panels, loose glass, cracked solder joints, deteriorated came, or movement within the panel are repair conditions rather than cleaning problems and are best evaluated by someone experienced in architectural stained or leaded glass.
Preserving the assembly can be more important than making old glass perfectly spotless.
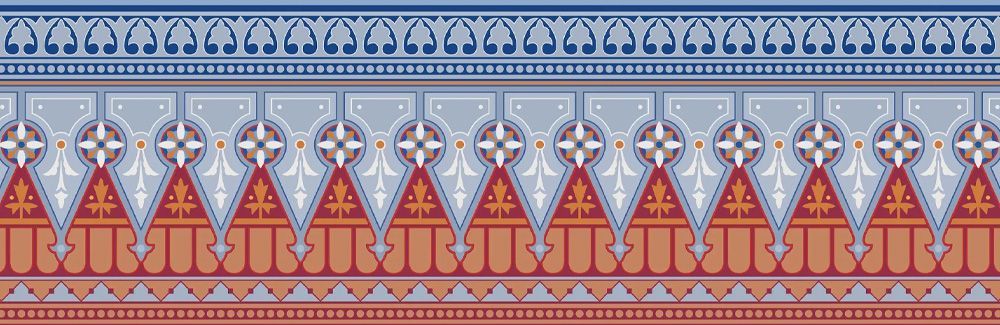
Wallpaper & Historic Wallcoverings
Wallpaper has been used in older homes not only as decoration but also as an important part of a room's overall design. Original or early wallpapers sometimes survive beneath later layers, inside closets, behind built-ins, or in other protected areas. New wallcoverings continue that tradition, with contemporary papers available in everything from traditional patterns to hand-printed and specialty finishes.
Routine Care:
For most wallpaper, regular care begins with removing dust rather than washing. Use a soft duster, clean microfiber cloth, or a vacuum with a soft brush attachment, working gently so you don't catch seams or loose edges.
Before using water or a cleaning product, determine whether the wallcovering is washable. Modern wallpapers vary considerably, and the manufacturer's care instructions should take precedence when available. If you are uncertain, test any cleaning method in an inconspicuous area first.
Avoid saturating wallpaper or allowing moisture to collect along seams and edges. Excess water can soften adhesives, cause staining, or lead to lifting and separation from the wall.
Spots & Stains:
Address spots carefully rather than scrubbing them aggressively. Blot spills when possible and avoid rubbing, which can spread a stain or damage the printed surface.
Some contemporary wallcoverings can tolerate gentle cleaning with a damp cloth and mild soap, while others—including many papers with delicate, textured, metallic, hand-printed, or specialty surfaces—may be damaged by moisture or cleaning products.
Don't assume that a stain remover, household cleaner, or cleaning sponge that's safe for a painted wall is appropriate for wallpaper.
Loose Seams, Bubbles & Damage:
Small areas of lifting or loose seams can sometimes be repaired, but first consider why the wallcovering has released. Age and adhesive failure may be the cause, but recurring lifting, bubbling, staining, or discoloration can also indicate moisture behind the surface.
Avoid simply gluing down wallpaper when there are signs of an unresolved moisture problem.
Tears, missing sections, and damaged historic papers may require a more specialized repair. If matching material is unavailable, a wallcovering or conservation professional may be able to stabilize the existing paper or suggest a repair that preserves as much original material as possible.
Historic Wallpaper:
Old wallpaper can be more than a surface finish. Its pattern, color, printing technique, and placement may provide clues to how a room looked at an earlier point in the home's history.
Before removing early wallpaper, particularly a distinctive or potentially original pattern, consider documenting it with photographs and retaining a representative sample. Even when the wallpaper cannot remain in place, preserving a small section can provide a useful record for future restoration or research.
Historic wallpaper should generally be approached conservatively. Avoid washing, scrubbing, applying household cleaners, or attempting stain removal until you understand what the paper and printed surface can tolerate. Fragile, rare, hand-printed, or otherwise significant wallpaper may be best evaluated by a conservator.
When Installing New Wallpaper:
New wallpaper can be entirely at home in an older house, whether the goal is to recreate a period feeling or introduce something clearly contemporary. Proper installation and future care depend on the wallcovering, adhesive, and condition of the wall beneath it.
Keep the manufacturer's product information and care instructions when possible. Knowing whether a wallcovering is washable, scrubbable, peelable, strippable, or requires specialized cleaning can make caring for it much easier later.
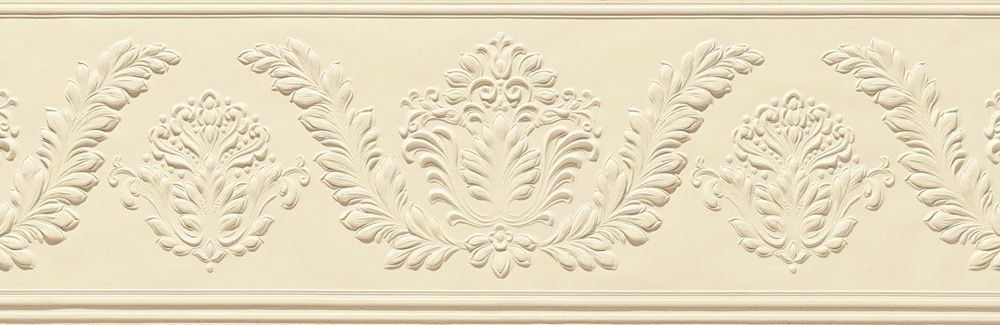
Anaglypta & Lincrusta
Embossed wallcoverings such as Anaglypta and Lincrusta have been used for more than a century to add texture and architectural detail to walls, ceilings, dados, and other interior surfaces. They can imitate carved plaster, tooled leather, decorative paneling, and other elaborate finishes. Original installations still survive in some older homes, while both materials remain available for use in new work today.
Although they are sometimes grouped together, Anaglypta and Lincrusta are different materials. Anaglypta is an embossed wallcovering, traditionally paper-based, and is commonly painted after installation. Lincrusta is a heavier, deeply embossed wallcovering made from a linseed-oil-based composition and is considerably more durable. Because either material may also have accumulated layers of paint or decorative finishes over time, care depends on both the wallcovering and the coating on its surface.
Routine Care:
Begin by removing dust with a soft brush, duster, or vacuum with a soft brush attachment. Pay particular attention to recessed areas in the pattern, where dust can accumulate.
For painted surfaces, cleaning should be appropriate for the type and condition of the paint. If the finish is unknown, start with a soft, dry cloth and test any damp-cleaning method in an inconspicuous area before proceeding.
Avoid saturating the surface. Moisture can affect seams, adhesives, paint layers, and the wall or ceiling beneath the wallcovering.
Painted & Decorated Surfaces:
Many installations have been painted, sometimes repeatedly. Others may have glazed, metallic, highlighted, or multicolored decorative finishes that emphasize the raised pattern.
Don't assume that an older surface was intended to be a single color simply because it is painted that way today. Before stripping or substantially altering an early installation, look closely for evidence of earlier decorative treatments beneath the current finish.
Avoid abrasive cleaning, aggressive scrubbing, or strong solvents that could flatten raised details or damage paint and decorative finishes.
Cracks, Loose Areas & Damage:
Loose seams, cracks, lifting sections, and damaged relief can sometimes be repaired without replacing an entire installation. Because the pattern itself is an important part of the surface, repairs should preserve as much original material and detail as possible.
Before repairing a loose or damaged area, determine whether moisture or movement in the wall or ceiling is contributing to the problem. Reattaching the surface without addressing the underlying cause may only provide a temporary repair.
Small losses in an older installation may also be less objectionable than a poorly matched repair. For significant or highly visible damage, consider consulting someone experienced with historic wallcoverings or decorative finishes.
Caring for Historic Installations:
Surviving Anaglypta or Lincrusta can be an important decorative feature of an older interior. Even when covered by later paint, the original embossed pattern may retain craftsmanship and detail that would be difficult to reproduce.
Approach stripping with particular caution. Older paint layers may contain lead, and aggressive scraping, sanding, heat, or chemical stripping can damage the relief beneath them. If paint removal is necessary, use appropriate lead-safe practices and choose a method compatible with both the wallcovering and the finish you intend to preserve.
Before removing an original installation simply because it is worn or damaged, consider whether it can be cleaned, stabilized, repaired, or incorporated into the room as it is.
New Anaglypta & Lincrusta:
These materials aren't limited to restoration work. New embossed wallcoverings can introduce texture and architectural interest to a room while drawing on a long decorative tradition.
For newly installed material, retain the manufacturer's information for the wallcovering, adhesive, paint, and any decorative finish applied over it. Those products together determine how the finished surface should be cleaned and maintained.
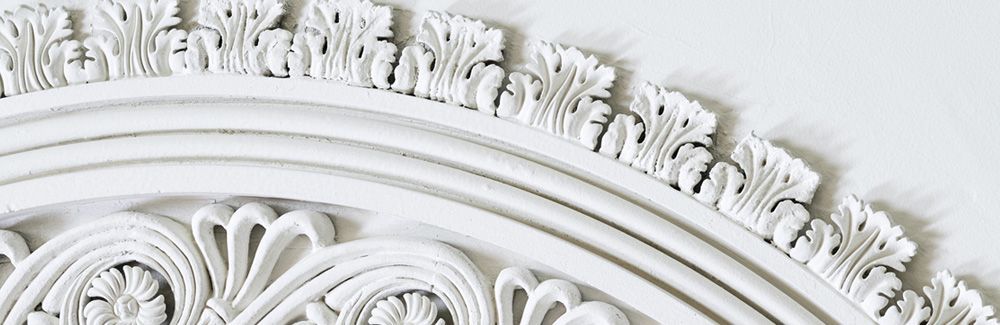
Historic Plaster & Decorative Plasterwork
Plaster walls and ceilings are a defining feature of many older homes. Traditional plaster was applied in multiple coats over wood or metal lath, creating a durable surface that can remain serviceable for generations. Decorative plasterwork—including cornices, ceiling medallions, moldings, corbels, and other ornamental details—may also be an important part of a home's original architecture.
Age alone isn't a reason to replace plaster. Hairline cracks, slight irregularities, old repairs, and other signs of time are common and can be part of the character of an older interior. Even plaster that has cracked or loosened can often be stabilized and repaired rather than removed and replaced with drywall.
Routine Care:
For ordinary cleaning, remove dust with a soft cloth, duster, or vacuum with a soft brush attachment. Painted plaster should generally be cleaned according to the type and condition of the paint on its surface rather than treated as bare plaster.
Avoid saturating plaster with water. When cleaning walls or ceilings, use as little moisture as necessary and don't allow water to collect in cracks, damaged areas, or around decorative details.
Decorative plasterwork should be dusted carefully so that raised or projecting details aren't chipped or broken. Avoid abrasive cleaning and aggressive scrubbing.
Cracks:
Cracks in old plaster are common, but they aren't all alike. Fine, stable cracks may simply reflect normal movement and age. Cracks that are widening, repeatedly returning after repair, appearing suddenly, or accompanied by movement or distortion deserve closer attention.
Before repeatedly patching a troublesome crack, consider what may be causing it. Seasonal movement, framing movement, moisture, settlement, or loss of attachment between the plaster and its lath can all contribute.
A crack itself is often less important than whether it is changing. Photographing and monitoring a questionable crack over time can help determine whether it is stable or active.
Loose or Bulging Plaster:
Plaster that feels loose, sounds hollow, bulges, or moves when gently pressed may have lost its connection to the lath behind it. That doesn't necessarily mean the plaster needs to be removed.
Traditional plaster can often be reattached or stabilized using repair techniques designed to secure the existing material. This can preserve substantially more original fabric than tearing out the wall or ceiling and replacing it with drywall.
Large areas of loose plaster, significant ceiling movement, or plaster that appears at risk of falling should be evaluated promptly by someone experienced with plaster repair.
Water Damage & Staining:
Water stains, bubbling paint, soft plaster, crumbling surfaces, or recurring discoloration can indicate an active or previous moisture problem.
Before repairing or repainting damaged plaster, identify and correct the source of the moisture. Roof leaks, plumbing leaks, failing exterior surfaces, condensation, or other water problems can continue to damage a repair if the underlying cause remains.
Allow wet plaster and the surrounding construction to dry appropriately before determining the extent of repair needed.
Decorative Plasterwork:
Original plaster moldings, ceiling medallions, cornices, and other ornament can be among the most distinctive details in an older interior. Small cracks, missing sections, layers of paint, or earlier repairs don't necessarily mean the plasterwork should be removed.
Damaged ornament can often be repaired, and missing sections may sometimes be reproduced using surviving material as a pattern.
When significant decorative plaster survives, preserving the original work whenever practical retains craftsmanship and detail that can be difficult to duplicate.
Avoid aggressive scraping, sanding, or stripping of decorative plaster. These methods can soften or destroy crisp details, and older coatings may contain lead.
Painting & Refinishing:
Before painting old plaster, make sure the surface is sound, dry, and appropriately prepared. Peeling or repeatedly failing paint may indicate moisture, incompatible coatings, or another underlying condition rather than simply a need for another coat of paint.
Older plaster may also have accumulated numerous layers of paint, wallpaper, or other finishes. When an unusual decorative treatment or early finish is discovered, consider documenting it before covering or removing it.
If existing paint will be disturbed through sanding, scraping, demolition, or other renovation work, remember that coatings in older homes may contain lead and should be handled using appropriate lead-safe practices.
Repair Before Replacement:
When old plaster is damaged, replacement with drywall isn't the only option. Localized patching, crack repair, and reattachment of loose plaster can often extend the life of an existing wall or ceiling while retaining the subtle texture and character of the original surface.
The goal doesn't always need to be making an old plaster wall perfectly smooth. A sound repair that preserves the original material—and some evidence of its age—may be more appropriate to the character of the house than making every surface look newly constructed.
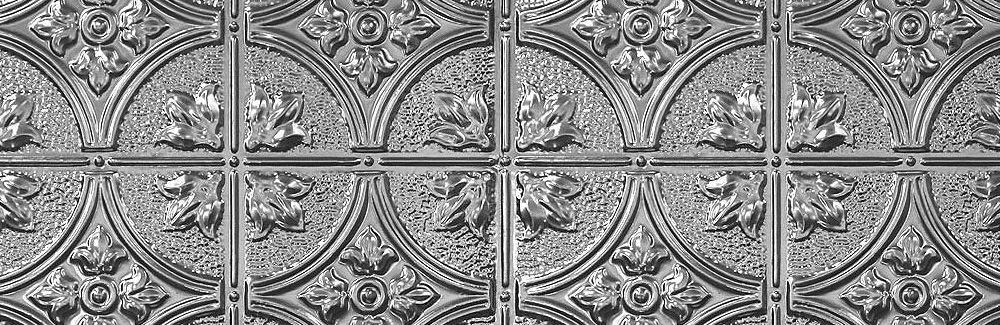
Tin & Decorative Metal Ceilings
Pressed-metal ceilings—often generically called tin ceilings—are durable architectural finishes frequently found in older homes and commercial interiors.
They may be painted, plated, clear-coated, or left with an exposed metal finish. Before cleaning aggressively, determine what finish is present.
For tin and decorative metal ceilings, use a conservative cleaning approach. Avoid scrubbing pads, metallic brushes, and abrasive cleaners, and do not assume that all-purpose or glass cleaners are safe for every finish.
Routine Care:
Remove dust with a soft cloth, microfiber duster, or soft vacuum attachment.
Pressed patterns can collect dust in recessed areas, so gentle periodic dusting can reduce the need for heavier cleaning later.
For a washable painted or coated ceiling, use a soft cloth or sponge lightly dampened with water and mild soap. Test first in an inconspicuous area.
Avoid:
Be careful not to saturate seams, joints, or areas where the finish is already deteriorating.
Painted Metal Ceilings:
Treat a painted metal ceiling primarily according to the paint finish.
Older paint may be more sensitive to washing and abrasion than a modern coating. Flat or matte finishes may also burnish when repeatedly rubbed.
If paint is flaking, blistering, or poorly adhered, don't attempt aggressive washing before addressing the failing finish.
Bare & Specialty Metal Finishes:
Don't assume that exposed metal should be polished.
Some decorative metal ceilings are intentionally aged, patinated, plated, or clear-coated. Metal polish can permanently alter these finishes.
If the finish is unknown, limit routine care to gentle dusting and mild cleaning until the material and coating can be identified.
Rust & Corrosion:
Small areas of rust can indicate that moisture has reached exposed ferrous metal.
Rather than simply polishing or painting over recurring corrosion, determine where the moisture is coming from. Roof leaks, plumbing leaks, condensation, or moisture from above the ceiling may be the underlying problem.
Once the moisture source has been corrected, localized corrosion and finish damage can be evaluated for appropriate repair.
Avoid:
- Steel wool and metallic brushes
- Abrasive powders and scouring pads
- Aggressive scrubbing
- Strong acids or alkaline cleaners
- Metal polish unless appropriate for a known exposed-metal finish
- Excessive water around seams or damaged finishes
Historic Metal Ceilings:
Original pressed-metal ceilings can retain early paint, decorative finishes, and remarkably crisp embossed detail.
Before stripping or sanding an older ceiling, consider whether the existing finish is historically significant or worth preserving. Aggressive removal methods can soften embossed details or damage the thin metal.
And, as with other painted components in an older home, paint may contain lead. Work that disturbs older coatings should use appropriate lead-safe practices.