Whether you’ve never tackled a remodeling project before or you’re a seasoned home-improvement pro, the design process can seem daunting at times. Many firms have their own way of doing things and sometimes these methods are a bit convoluted or mysterious.
In this series, we’ll take you on a step-by-step tour through the Arciform design process so that you know what to expect when planning a home improvement project. As you follow along with this 1928 English cottage remodel, you will learn what to expect, how we work and why we do what we do!
Step 1: Measuring the Site and Recording Exiting Conditions

After the Initial Design Consultation, Senior Designer Kristyn Bester and the Arciform design team visited the home to measure the existing floor plan and site footprint of this charming cottage. The goal of the site measure is to document every single detail down to the nitty-gritty. We document the existing materials, millwork profiles, door and window styles, etc – and occasionally get into your dusty crawlspaces – all in an effort to mitigate any issues with the unforeseen during the construction phase.

The client had multiple phases in mind for this cottage project, making a whole-house site measure the best solution. A whole-house site measure allows the design team to understand how all floors of a home are being affected when designing; it also helps to smooth the transition between phases and, of course, you will have a set of current and accurate plans for your house!
Step 2: Turning the Measurements and Documentations into a Drawing
After measuring the space and documenting the details, we bring all of the information back to the office to draw up in our CAD software. This “as built” drawing then serves as a canvas for the design. Our computer program also creates a 3D model which lends the opportunity to generate different types of drawings & renderings, making it easy for the designer and client to visualize an accurate depiction of the possibilities.
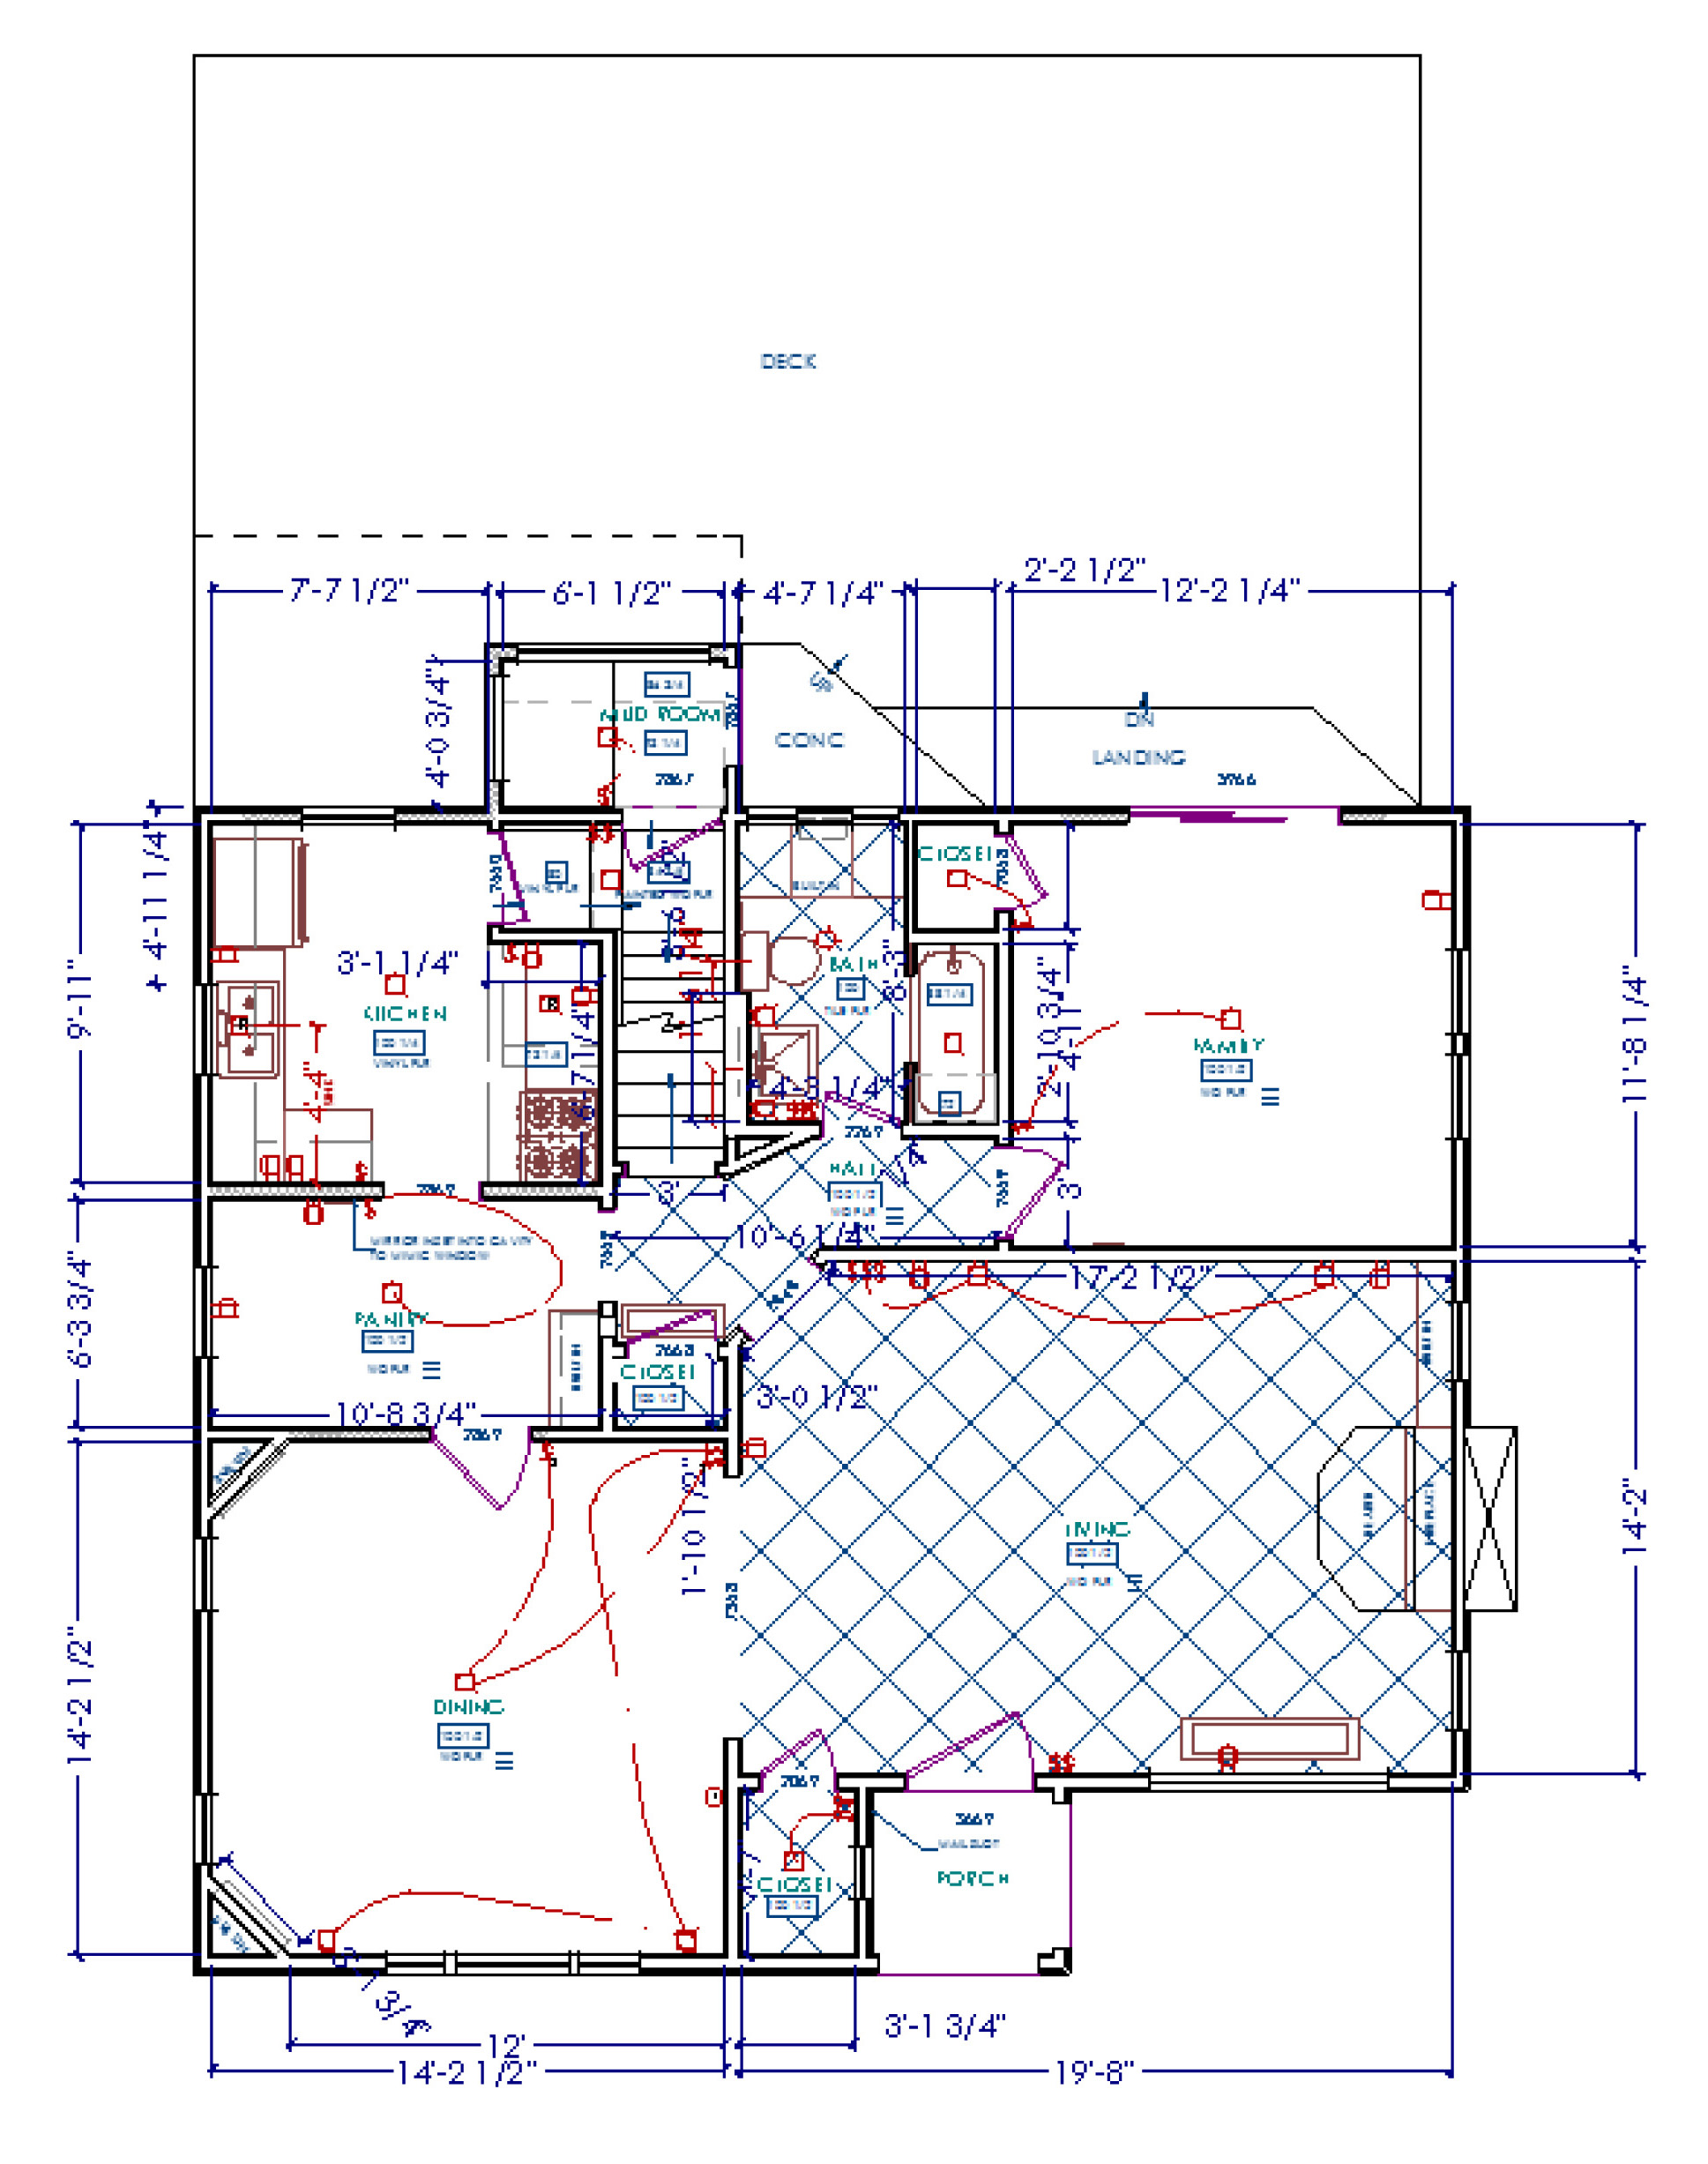
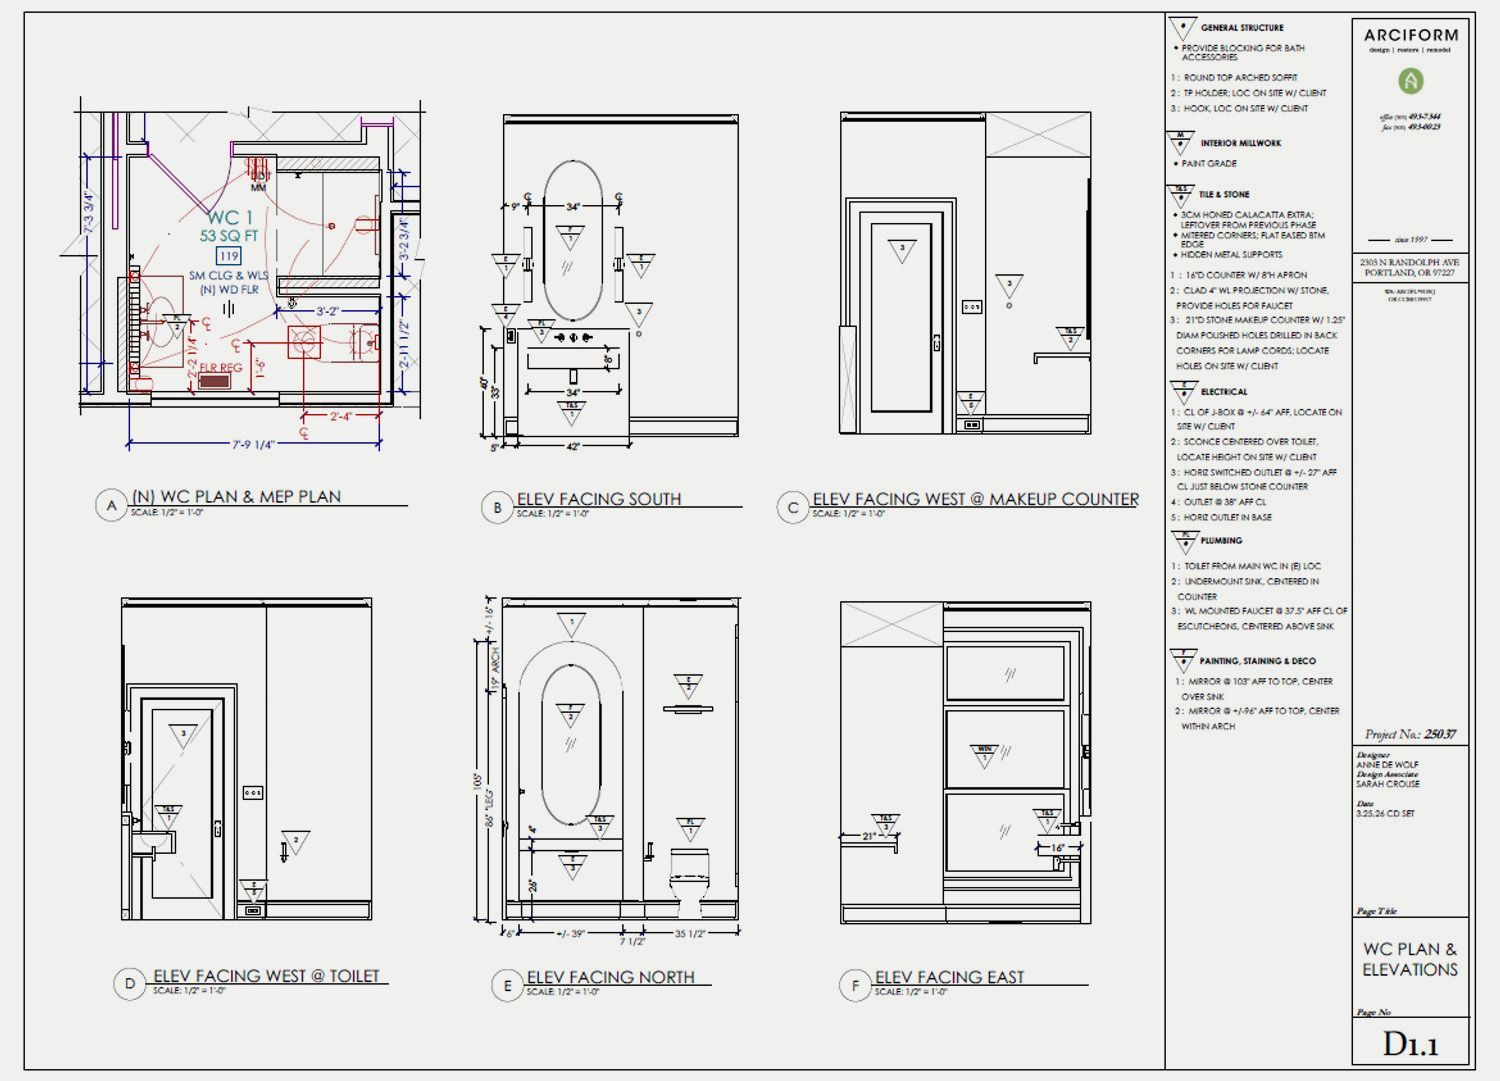
Above is the “as built” floor plan for our example cottage, which gives a good idea of the kind of information you can expect to find on this plan. Different symbols & tags help the designers easily identify what is going on in the space. For example, the red symbols & lines represent mechanical, electrical & plumbing elements; the blue hatching means that there are no changes being made to the space.
Stay tuned for the next installment on our journey through the design process, outlining the “conceptual design” phase of this Laurelhurst home remodel.
-Tara Keefner, co-author
See More Stories